Quartz4
obsidian(마크다운)을 쉽게 블로그로 배포할 수 있게 해주는 정적 사이트 생성기이다. quartz4 공식 docs를 참고하면 금방 시작할 수 있다.
개선
정적 파일, 게시물은 어떻게 넣나요? like robots.txt, GA 인증
quartz/static 이 아닌 quartz/quartz/static에 넣으면 됨
favicon
quartz/quartz/static 안에 icon.png 라는 이름으로 넣으면 됨
opengraph(meta tag)
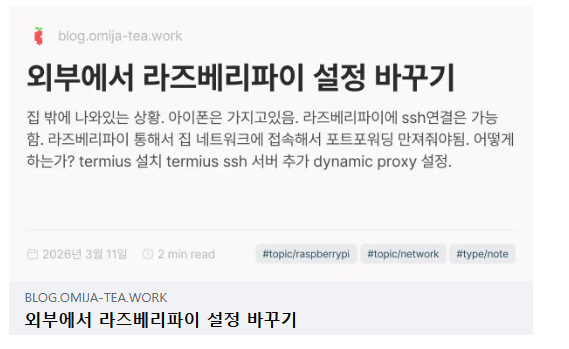 기본적으로 OgImage를 지원하는데, 한글이 깨지는 문제가 있음.
quartz/quartz/static/fonts 에 ttf폰트 넣어줘야됨. 저는 Pretendard 넣었습니다
이후 quartz/quartz/quartz.config.ts의 폰트 부분을 바꿔주면 됨
기본적으로 OgImage를 지원하는데, 한글이 깨지는 문제가 있음.
quartz/quartz/static/fonts 에 ttf폰트 넣어줘야됨. 저는 Pretendard 넣었습니다
이후 quartz/quartz/quartz.config.ts의 폰트 부분을 바꿔주면 됨
      typography: {
        header: "Pretendard Variable",
        body: "Pretendard Variable",
        code: "IBM Plex Mono",
      },
마지막으로 quartz.config.ts 의 emitters 파트에 Plugin.CustomOgImages({}) 넣어주면 끝
탐색탭 날짜별로 정렬
탐색탭 기본정렬은 날짜별 정렬이 아니다. 날짜별 정렬이 깔끔하므로 구현해보자.
      const simplifiedIndex = Object.fromEntries(
        Array.from(linkIndex).map(([slug, content]) => {
          // remove description and from content index as nothing downstream
          // actually uses it. we only keep it in the index as we need it
          // for the RSS feed
          delete content.description
          delete content.date // <-- 이 라인 삭제!!
          return [slug, content]
        }),
      )
quartz/quartz/plugins/emitters/contentIndex.tsx 에서 content.date를 지우고 return하는 구문을 없애주자. content.date를 살려둔채로 올려야 윗층에서 쓸 수 있다.
    Component.DesktopOnly(
      Component.Explorer({
        title: "탐색",
        sortFn: (a, b) => {
          // 폴더는 항상 위로
          if (a.isFolder && !b.isFolder) return -1
          if (!a.isFolder && b.isFolder) return 1

          // 둘 다 파일이면 날짜 내림차순 (최신 글이 위)
          if (!a.isFolder && !b.isFolder) {
            const dateA = a.data?.date ? new Date(a.data.date) : new Date(0)
            const dateB = b.data?.date ? new Date(b.data.date) : new Date(0)
            return dateB.getTime() - dateA.getTime()
          }

          // 둘 다 폴더면 이름순
          return a.displayName.localeCompare(b.displayName, undefined, {
            numeric: true,
            sensitivity: "base",
          })
        },
      }),
    ),
sortFn에 위와같은 정렬 람다식 넣어주면 된다. 아무튼 date 정보를 사용할 수 있게 되었으니, 알아서 여기서 커스텀 하면 됨!
컨텐츠 채우기는 다음편에 ㄱㄱ
obsidian으로 블로그 만들기(1) - obsidian remotely save
obsidian으로 블로그 만들기(2) - quartz 설정
obsidian으로 블로그 만들기(3) - Github 자동 배포 구축